Creating a website
Site admin settings
The first thing you should do when you create a new site, is to make some adjustments under the site admin settings tab. You can get there by clicking on the top option on the left side navigation with a gear icon, "Site admin", and then clicking on the "settings" tab.
GENERAL
Auto-assign new items:
*IMPORTANT* Keep this unchecked. When it's checked, then any unrelative item that is added OUTSIDE of your site by other users will automatically show up in your site's search. In most cases, you wouldn't want this to happen.
Attachment Link Type:
This controls where the page navigates to when an item is clicked on the webpage. By default, when you click on an item's image, it will take you to the item page, which displays more information about that item. You can also select it to go to the media page or directly to the file, which you might want if you'd like to viewer to only see the media at full scale without metadata.
Embed media on item pages:
It's recommended to keep this checked. This allows photos and documents to display on the page where you place on item, versus having to click to view the image.
Show page pagination:
This allows you to navigate from page to page and displays how many pages there are.
Show user bar on public views:
The default is fine, unless you want visitors with active accounts to frequently log into the site. Then, you might want "always" selected.
LANGUAGE
Locale:
If your site is geared towards another language, you can select a language other than English here. It won't translate the content of your site, but it will translate the terms within the admin view.
BROWSE
Restrict browse to attached items:
It's reccomended to keep this checked. It means that when a visitor browses your page, they will only see results of items that you have created and put on the site. However, if you want them to discover items that you have created but haven't put on the site's pages yet, you can uncheck this.
Browse heading property:
This is useful if you want to display another peice of information in the metadata as the title, instead of the default title field. For instance, if you want to display your item results as a timeline, you can select the "Date" property and have it sort by date.
SHARING
If you want the ability to share your site via facebook, email, twitter, tumblr, or Pinterest, you can check the options towards the bottom of the site admin settings page.
There are many other options on this page that, for the most part, can stay as the default. If you have any questions about the rest of the options, please feel free to contact the Digital Services team at digitalservices@union.edu.
Setting the Theme: "Digital Collections Default"
This theme was custom designed to fit Union College's website colors, fonts, and general layout. There is also a Union College logo placed at the top left of any website. This is to ensure that the user has a seamless experience when navigating between all of the different websites associated with the college. Because of this, it's really important to stick to this theme.
Making it your own:
The good news is that you are able to customize your site by making some choices in this theme's settings. For instance, you can:
- Select from two different templates: "Default" and "Alternative".
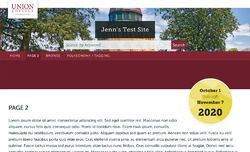
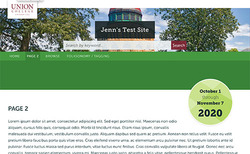
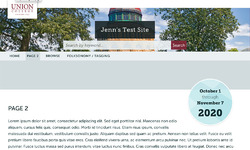
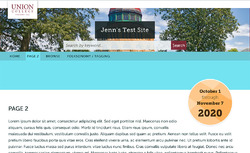
- Choose from seven different color schemes (the color of the navigation bar): Classic Black, Garnet Red, True Green, Teal Green, Light Beige, Light Gray, & Cyan Blue. (see examples below)
- Ability to upload your own banner image.
Once you make these theme settings, they will apply to all of the individual pages that you create on your site. At the page level, you have the flexibility to arrange photos and text in different ways, making your page layout unique to your preferences.
Watch a video tutorial on choosing theme settings
The two templates to choose from
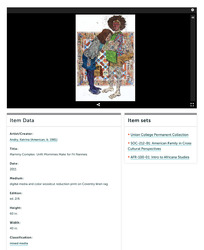
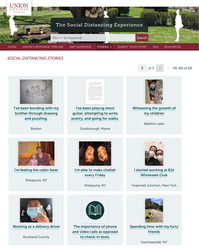
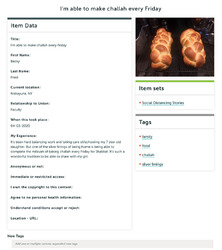
The following screenshots demonstrate some of the diffrences between the two website layout templates you can choose from. These templates primarily change the look of automatically generated pages related to items. Which of these templates you choose will have a large impact on how users find and view the items on your site, so consider carefully which is a better fit for the particular content you'll be exhibiting.
Seven color schemes to choose from
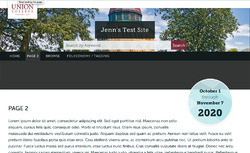
The following screen shots demonstrate the seven different color schemes you can choose from in the theme's settings. What you choose determines the navigation color, and also the circular "spotlight" if you so choose to use this element on a page. TIP: Choosing a color that compliments the image you choose for your banner can really make a visually pleasing difference to your site.
